One More Farm
FROM OUR FARM TO YOUR HOME.
Food & Recipes · Pantry Staples
Homemade Butter – Two Easy Ways!
Make Fresh Butter at Home Using Just One Main Ingredient!
- Difficulty
- Easy
- Prep time
- Approximately 10–20 minutes for the Mason jar method; blender time varies
- Yield
- Varies depending on the amount of cream used
Want to make this later? Bookmark this page so you can easily find the recipe when you're ready!
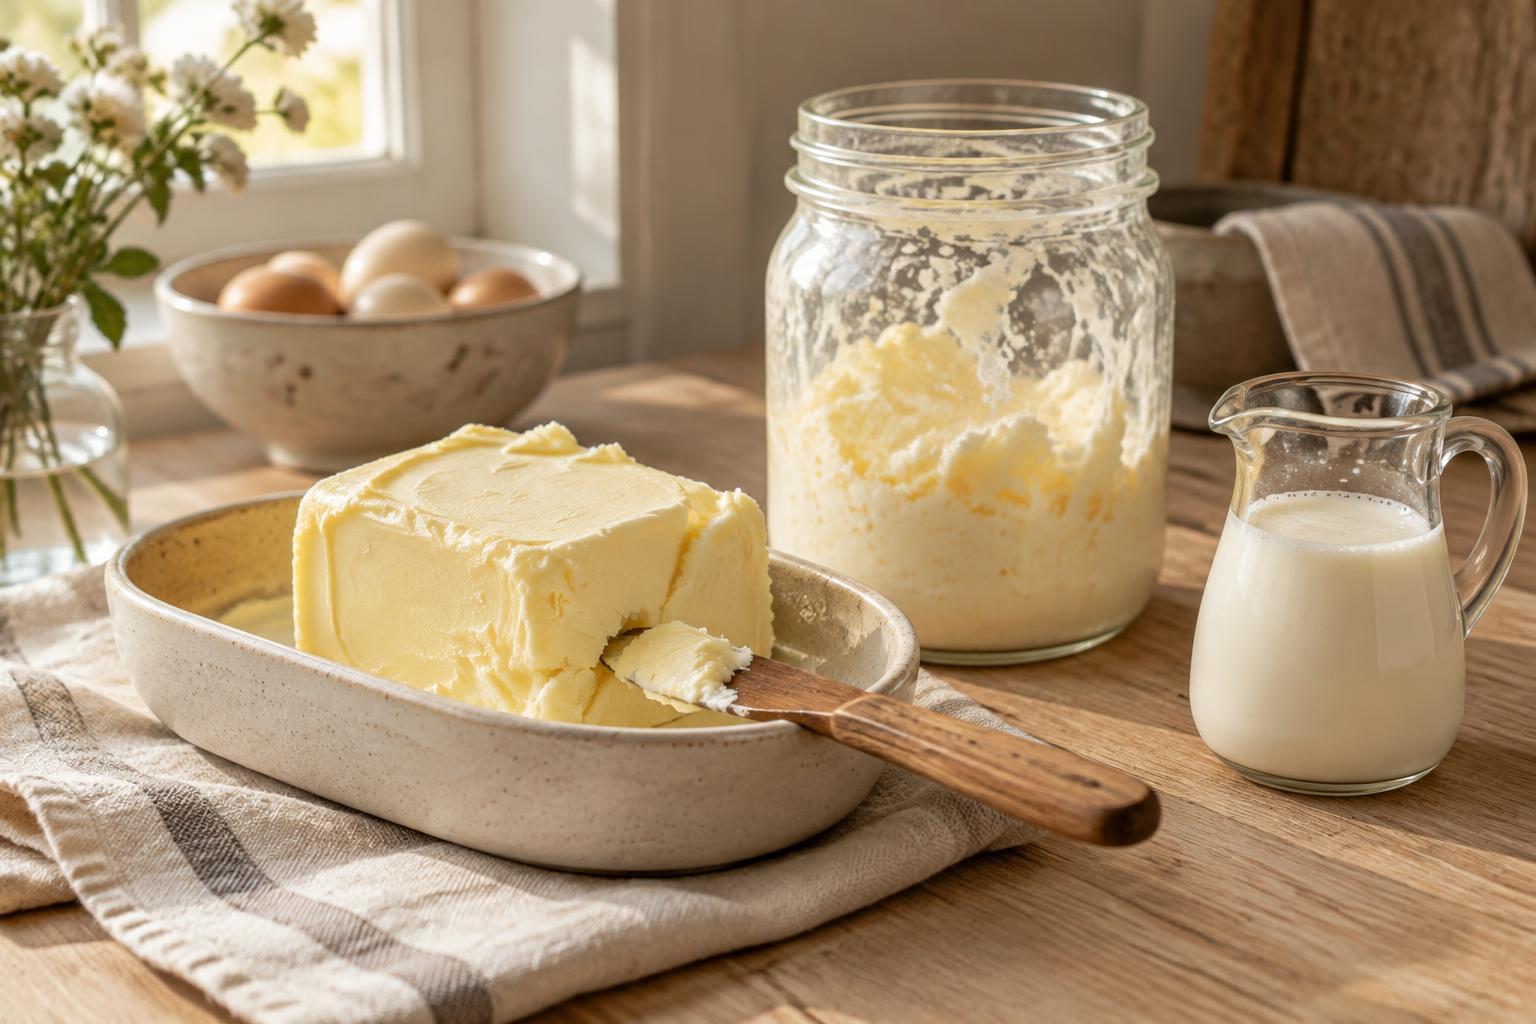
We made homemade bread, so what's next? How about making the butter to go with it?
You might be surprised how easy it is to make your own butter at home. All you really need is one main ingredient: heavy whipping cream!
Choose between the fun Mason jar method or the quicker blender method.
Ingredients
For either method
- Heavy whipping cream
- Cold water for rinsing
- Salt (optional)
Method 1: Mason Jar Butter
- 1 cup heavy whipping cream
- 1 clean, 16-ounce Mason jar with a tight-fitting lid
- Cold water
- A pinch of salt (optional)
Method 2: Magic Bullet or Blender Butter
- Heavy whipping cream
- Magic Bullet or similar blender
- Cold water
- Salt (optional)
- Bowl and strainer
Step-by-Step Instructions
Step 1: Mason Jar Method
1. Pour the heavy whipping cream into your Mason jar. Do not fill it more than halfway. You need room for the cream to move around.
2. Secure the lid tightly.
3. Start shaking! Shake continuously, taking turns if making this a family activity.
4. The cream will first thicken and turn into whipped cream. Keep shaking!
5. Eventually, the cream will separate into little yellow butter clumps and liquid. You'll actually hear the butter thumping around inside the jar!
6. Pour off the liquid buttermilk and save it for pancakes, biscuits, or baking.
7. Transfer the butter to a bowl. Add cold water and gently press and knead the butter with a spoon or spatula. Drain the cloudy water and repeat with fresh cold water until the water stays clear.
8. Add a little salt if desired, mix it in, and you're done!
Time: Approximately 10–20 minutes of shaking, depending on the cream and how vigorously you shake.
Step 2: Magic Bullet or Blender Method
1. Pour your cream into the blender cup, following the manufacturer's fill limits. Leave plenty of room for the cream to expand.
2. Secure the blade assembly and make sure everything is locked in place.
3. Pulse or blend in short bursts at first, checking the consistency as you go.
4. The cream will thicken into whipped cream. Keep blending until it separates into yellow butter solids and liquid buttermilk.
5. Stop as soon as you see the separation. Don't keep blending unnecessarily.
6. Strain off the buttermilk and save it for baking.
7. Transfer the butter to a bowl and rinse and press it with cold water, changing the water until it runs clear.
8. Add salt if desired, and enjoy!
A Note About Blenders: A regular blender or food processor may work better than a small Magic Bullet cup, depending on the amount of cream you're using. Don't overfill your appliance, and never open it while the blades are moving. Unplug the appliance before removing the blade assembly.
Important Tips for Success
- Use heavy whipping cream, not milk or half-and-half.
- Leave enough room in the Mason jar for the cream to move around.
- The cream will turn into whipped cream before separating into butter. Keep going!
- Take turns shaking the jar to make it a fun family activity.
- Stop blending once the butter separates.
- Rinsing the butter removes leftover buttermilk, helping improve its storage quality.
- Use cold water when rinsing and working the butter.
- Add salt to taste, or leave your butter unsalted.
Storage and Food Safety
- Store finished butter in a clean, covered container in the refrigerator.
- Keep refrigerated at 40°F or below.
- Use clean utensils when handling and serving.
- Because homemade butter may retain small amounts of moisture and buttermilk, keep it refrigerated and use it promptly.
- Freeze butter in an airtight container if you want to keep it longer.
What About the Leftover Buttermilk?
Don't throw it away!
The liquid left after separating the butter is useful in the kitchen. Save it for:
- Pancakes
- Biscuits
- Homemade bread
- Baking recipes
Important: This liquid is the natural buttermilk left from butter-making. It is not the same as cultured buttermilk from the grocery store.
Why Buy It? Make It!
Homemade bread and homemade butter, both made right in your own kitchen!
Now tell me: Are you shaking the Mason jar with the kids, or taking the easy route with the blender?
WHY BUY IT? MAKE IT! Simple things you can make yourself.
From Our Farm To Your Home!