One More Farm
FROM OUR FARM TO YOUR HOME.
Food & Recipes · Meals & Cooking
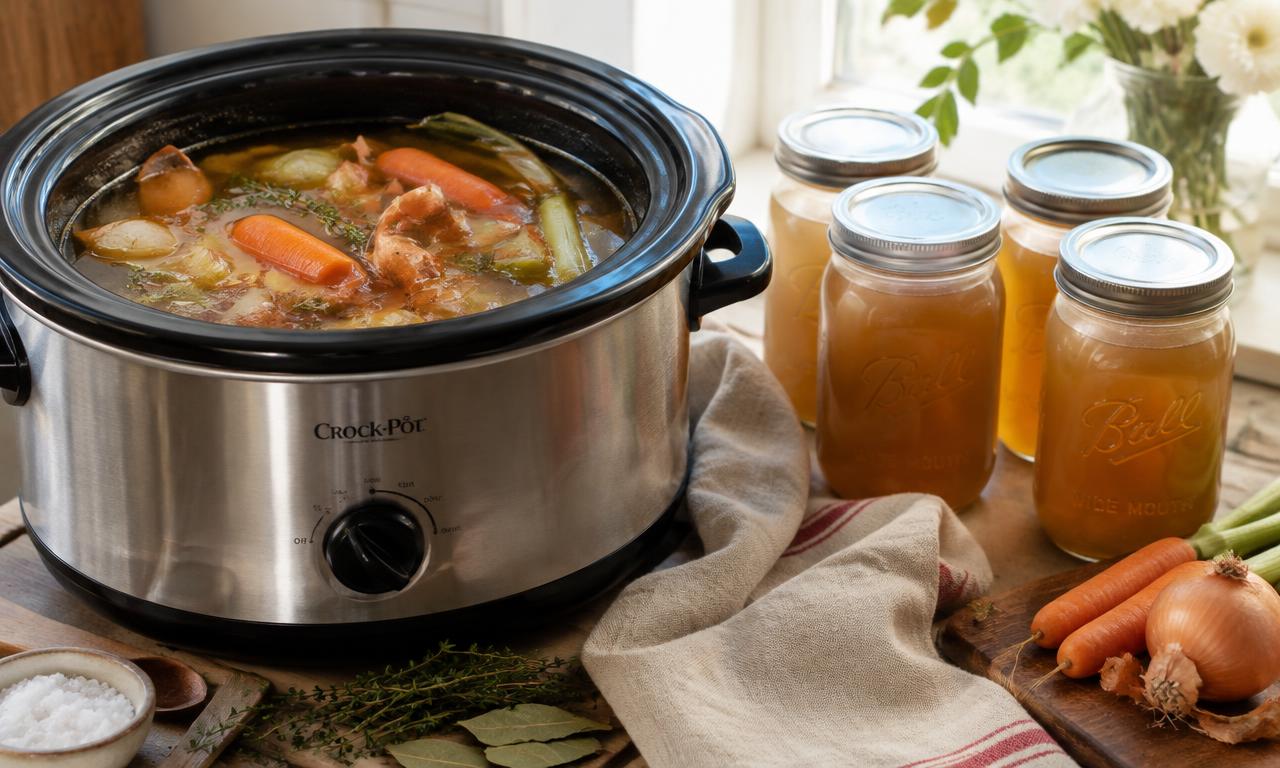
Homemade Broth from Kitchen Scraps
Simple things you can make yourself.
- Difficulty
- Beginner
- Cook time
- Approximately 8–12 hours, depending on your appliance and ingredients.
- Yield
- Varies with the amount of scraps and the size of your crockpot or roaster.
Want to make this later? Bookmark this page so you can easily find the recipe when you're ready!
Why throw away bones and vegetable trimmings when they can become a pot of rich, homemade broth?
In our kitchen, we save the bones from roasts and steaks, chicken bones and carcasses, and clean vegetable trimmings — onion ends, carrot ends, celery pieces, other clean scraps, and even clean onion skins. Each goes into its own freezer bag until we have enough for a batch.
Broth day is a practical way to waste less and get more value from ingredients you've already purchased.
Ingredients
- Saved beef or chicken bones and carcasses, depending on the broth you want
- Frozen, clean vegetable scraps such as onion ends, carrot ends, celery pieces, and other suitable trimmings
- Water, enough to cover the ingredients in your cooking vessel
- Salt to taste, added after cooking
This recipe is flexible — the amounts depend on the scraps you've saved and the size of your crockpot or roaster. For vegetable broth, leave out the bones and use vegetables only.
Tools You'll Need
- Crockpot, slow cooker, or suitable roaster
- Freezer bags or containers for collecting scraps
- Ladle or spoon
- Fine-mesh strainer
- Suitable storage containers
Step-by-Step Instructions
Step 1: Save the scraps
Collect leftover beef bones, chicken bones and carcasses, and clean vegetable trimmings in separate freezer bags. Freeze until you have enough for a batch.
Step 2: Prepare the cooking vessel
Place the bones in a suitable crockpot or roaster, then add the frozen vegetable scraps.
Step 3: Add water
Cover the ingredients with water, staying within your appliance's fill limits.
Step 4: Slow-cook the broth
Cook for approximately 8–12 hours, adjusting to your appliance and ingredients. The goal is flavorful broth, not a rigid time.
Step 5: Strain
Carefully remove and discard all the bones, then strain out the vegetable solids with a fine-mesh strainer.
Step 6: Season
Add salt to taste. We like to use a good-quality mineral salt.
Step 7: Cool and preserve safely
Cool the broth promptly using safe food-handling practices, then refrigerate, freeze, or pressure-can it using an appropriate tested recipe.
Important Tips for Success
- Save clean scraps in the freezer until you need them.
- Use sound ingredients — discard any spoiled or moldy scraps.
- Remove all bones during straining.
- Cool and store the broth promptly.
- Label containers with the contents and date.
- Do not leave cooked broth at room temperature for extended periods.
- If you share cooked vegetable scraps with your chickens, make sure they are cooled, suitable for poultry, and free of excess salt and unsuitable ingredients. Never feed bones to chickens.
Preservation Options
- Freezing: Use freezer-safe containers or wide-mouth Mason jars made for freezing, and leave the headspace the manufacturer recommends. Do not use ordinary glass jars that aren't freezer-safe.
- Pressure canning: Broth is a low-acid food. Shelf-stable canning requires a pressure canner and a current, tested recipe with the correct pressure and processing time for your broth and jar size. A water-bath canner is not appropriate.
- Freeze-drying: If you own a suitable freeze dryer, you can make dried broth or bouillon powder — we make our own homemade bouillon powder this way. Follow your freeze dryer manufacturer's food-safety guidance; dried broth needs proper moisture control and airtight storage and is not automatically shelf-stable.
Why Buy It? Make It!
Broth is one of the simplest ways to use more of what we already have, waste less, and practice a homestead skill that pays off all year.
From Our Farm To Your Home.