One More Farm
FROM OUR FARM TO YOUR HOME.
Food & Recipes · Fermentation
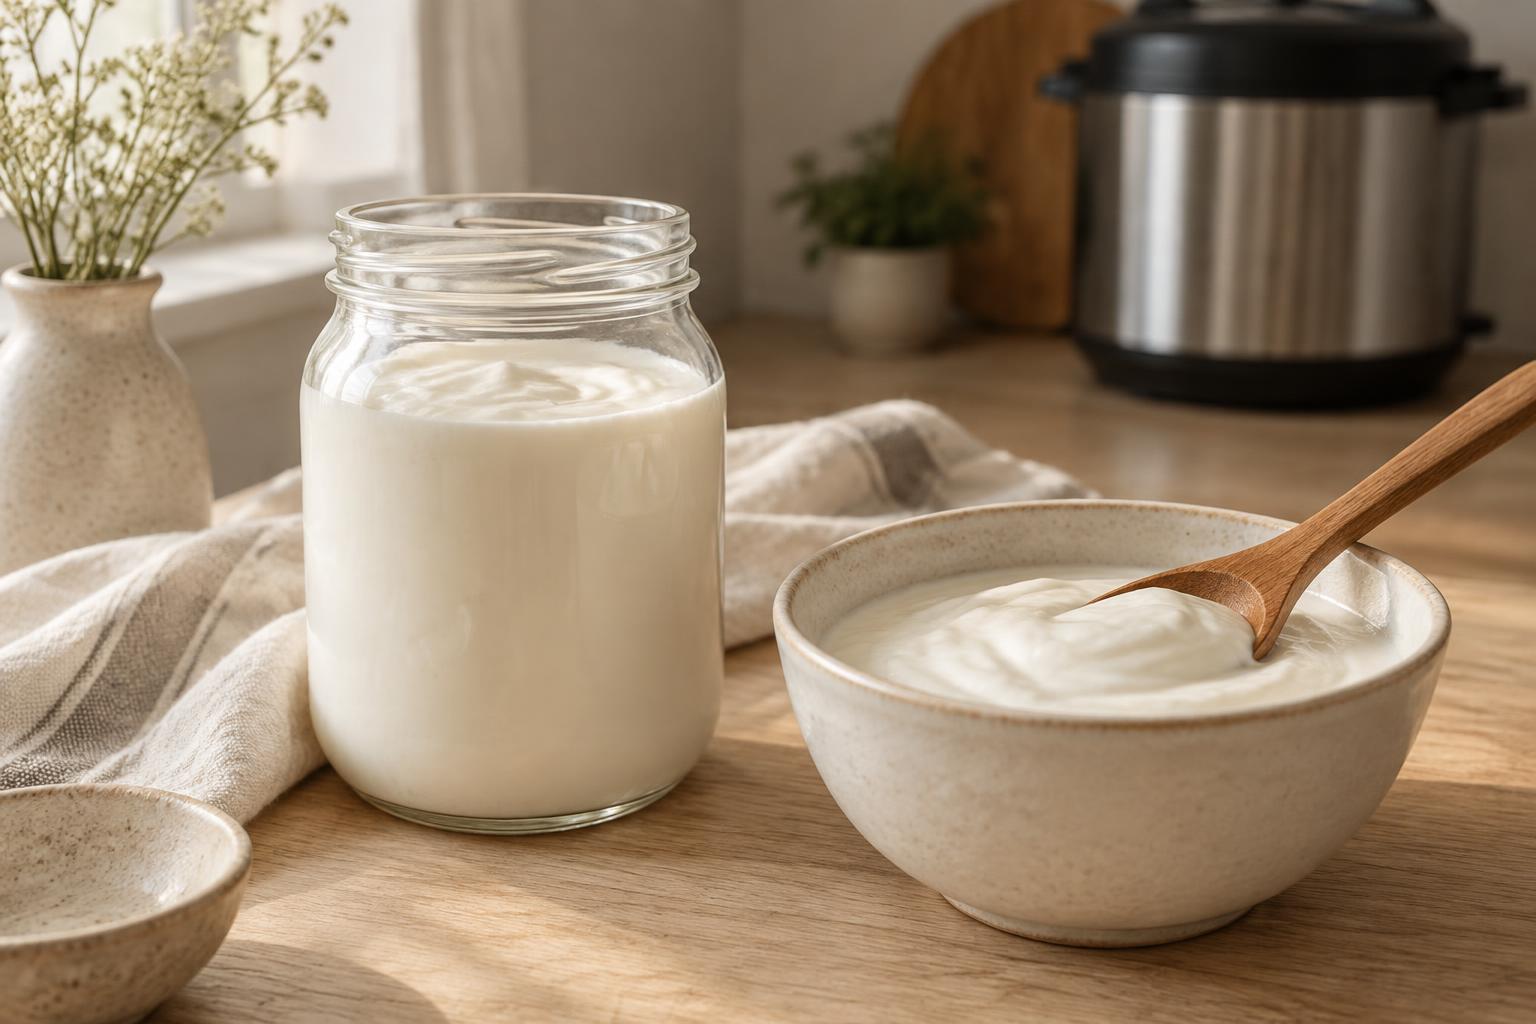
Endless Homemade Yogurt in Your Instant Pot
One Little Container of Yogurt Can Get You Started on Batch After Batch!
- Difficulty
- Easy
- Prep time
- Approximately 15–20 minutes, plus heating and cooling
- Culturing
- 8 hours (up to 10 hours for a tangier yogurt)
- Yield
- Approximately ½ gallon of yogurt
Want to make this later? Bookmark this page so you can easily find the recipe when you're ready!
Why keep buying yogurt when you can make batch after batch at home? The best part is that you only need one small container of plain yogurt with live active cultures to get started.
I use our own goat's milk because we have goats, and I absolutely love the taste! But regular cow's milk works just as well.
Make it plain, strain it into thick Greek-style yogurt, or add your favorite fruit, honey, and vanilla. Homemade yogurt is simple, economical, and easy to customize!
Ingredients
- ½ gallon milk (goat or cow)
- 3 tablespoons plain, unsweetened yogurt with live active cultures (organic yogurt is what I used to start mine)
Tools You'll Need
- Instant Pot with yogurt setting
- Food thermometer
- Measuring spoons
- Whisk or spoon
- Clean storage containers
- Freezer-safe containers for saving starter
- Cheesecloth and strainer (optional, for Greek-style yogurt)
Step-by-Step Instructions
Step 1: Heat the Milk
Pour the milk into your Instant Pot.
Select the YOGURT setting and adjust it to BOIL.
Heat the milk to approximately 180–185°F.
Hold the milk at that temperature for about 10 minutes.
Use a food thermometer to verify the temperature rather than relying only on the Instant Pot setting.
Step 2: Cool the Milk
Allow the milk to cool to approximately 110°F.
Don't skip this step! Milk that's too hot can kill the live cultures in your yogurt starter.
Step 3: Add Your Starter
Place 3 tablespoons of plain yogurt in a small bowl.
Add a little of the cooled milk and stir until smooth.
Pour the mixture back into the Instant Pot and stir gently to distribute the starter.
Step 4: Let It Culture
Select the YOGURT setting.
Set the time for 8 hours.
Allow the yogurt to culture undisturbed.
I prefer 8 hours because I don't like my yogurt too sour. You can culture it for up to 10 hours if you prefer a tangier flavor.
Step 5: Save Your Starter!
This is the trick that helps you make batch after batch without having to buy yogurt every time!
Before adding fruit, honey, vanilla, or any other ingredients, scoop out two separate 3-tablespoon portions of plain finished yogurt.
Place each portion in its own clean, freezer-safe container.
Label and date the containers.
Freeze both portions for future batches.
When you're ready to make your next batch, thaw one starter portion in the refrigerator and use it to repeat the process.
Important: Always save your starter before adding any flavorings or other ingredients. You want plain yogurt containing live active cultures.
Freezing can weaken cultures over time, so refresh your starter periodically using a fresh batch of yogurt with live active cultures.
Step 6: Refrigerate
Transfer the finished yogurt into clean storage containers and refrigerate promptly.
Allow it to chill thoroughly before serving.
Important Tips for Success
- Use plain yogurt that specifically contains live active cultures.
- Use a thermometer to check milk temperature.
- Allow the milk to cool to approximately 110°F before adding your starter.
- Save your starter before adding any flavorings.
- Keep starter portions in clean, labeled containers.
- Keep finished yogurt refrigerated.
- If your yogurt doesn't set properly, check the viability of your starter cultures and your temperature readings.
Storage and Food Safety
- Refrigerate finished yogurt promptly in clean, covered containers.
- Keep yogurt refrigerated at 40°F or below.
- Use clean utensils whenever removing yogurt or starter.
- Discard yogurt showing mold, unusual discoloration, or signs of spoilage.
- Keep frozen starter portions labeled and dated. Freezing does not guarantee that cultures will remain equally active indefinitely.
- Use a fresh starter if a previously frozen portion does not produce a properly set batch.
Want Greek-Style Yogurt?
You can easily turn your homemade yogurt into thick, creamy Greek-style yogurt!
How to strain it
- Line a strainer with cheesecloth.
- Place the strainer over a bowl.
- Pour in your finished yogurt.
- Cover and refrigerate overnight, or until it reaches your preferred thickness.
Don't Waste That Whey!
The liquid that drains off is whey. Don't throw it away!
Save your leftover whey and use it in other kitchen projects.
Here are a few ideas
- Add it to bread recipes.
- Use it in soups, gravies, and broths.
- Add it to smoothies.
- Use it when cooking rice.
- Freeze it for later use.
Make It Your Own!
Once your yogurt is ready, customize it with your family's favorite flavors.
You can also leave it plain and sweeten individual servings as desired.
Try adding
- Fresh strawberries
- Blueberries
- Peaches
- Vanilla extract
- Honey
The Best Part?
One little container of yogurt gets you started on batch after batch of homemade goodness!
WHY BUY IT? MAKE IT! Simple things you can make yourself.
From Our Farm To Your Home!