One More Farm
FROM OUR FARM TO YOUR HOME.
Food & Recipes · Fermentation
The Ultimate Guide to Water Kefir
Make a naturally fermented, fizzy drink at home
- Difficulty
- Beginner
Want to make this later? Bookmark this page so you can easily find the instructions when you're ready!
What Is Water Kefir?
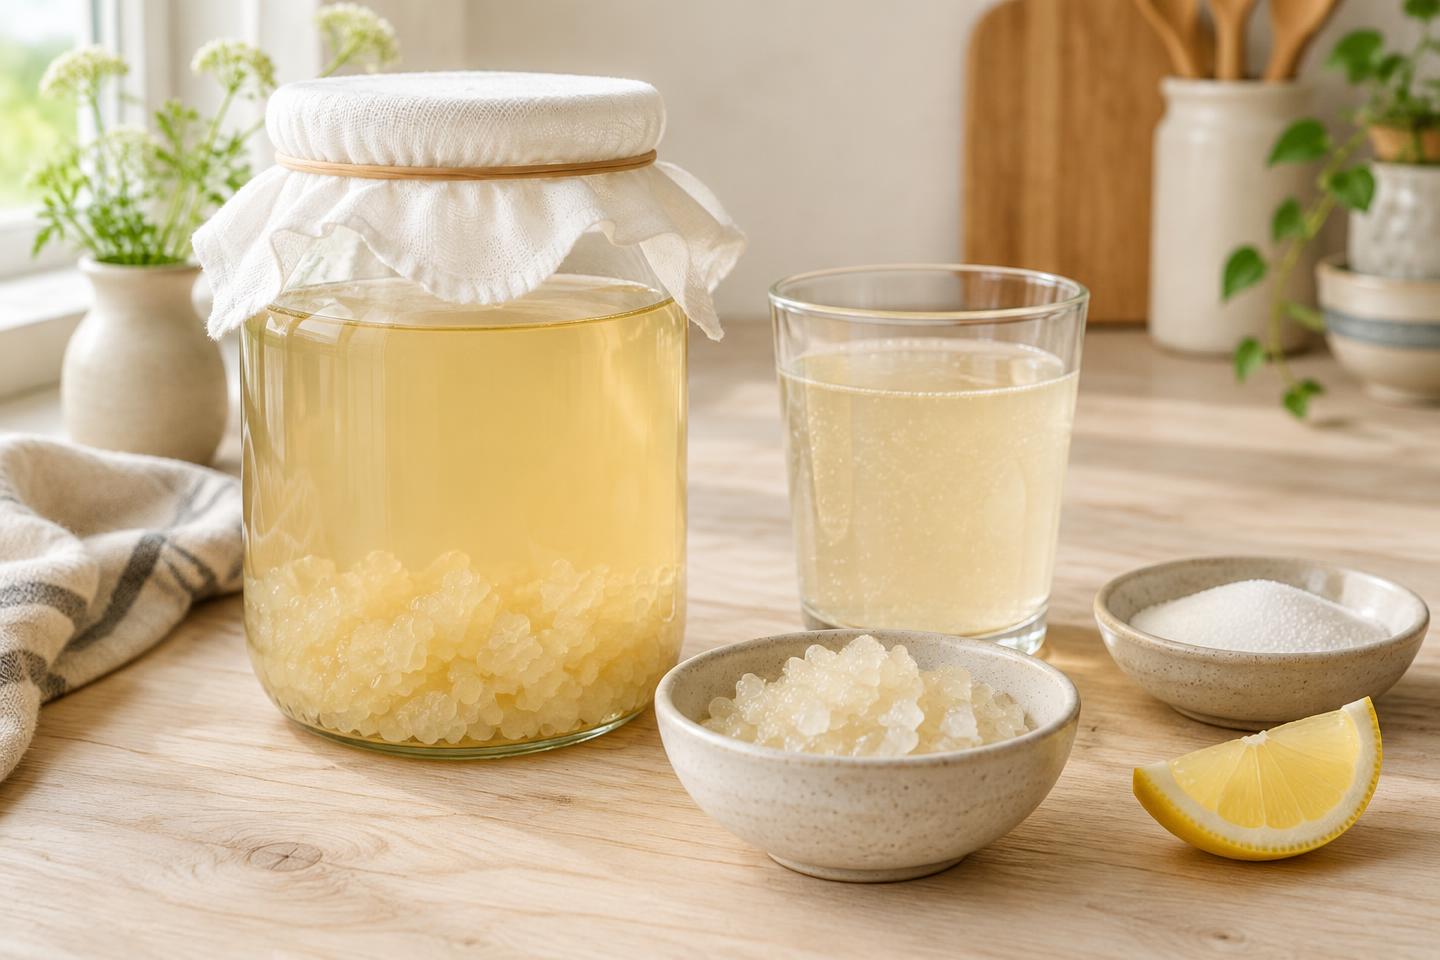
Water kefir is a lightly tangy, refreshing fermented drink made with water, sugar, and water kefir grains. It can be enjoyed plain or flavored with fruit juice.
Water kefir is made by fermenting sugar water with a living culture called water kefir grains.
The grains are not cereal grains. They are soft, translucent clusters made up of beneficial bacteria and yeasts living together in a natural matrix.
During fermentation, the microorganisms use some of the sugar and produce acids, carbon dioxide, and other fermentation byproducts. This gives water kefir its lightly tangy flavor and can create natural fizz.
Water kefir may contain beneficial live microorganisms. However, the amount and types of microbes vary from batch to batch, and it should not be considered a treatment or cure for any health condition.
Because some sugar is used during fermentation, finished water kefir can contain less sugar than the original sugar water. The amount of sugar remaining varies based on the grains, ingredients, temperature, and fermentation time. Water kefir is not guaranteed to be sugar-free or low-sugar.
Water kefir can also contain small amounts of alcohol produced naturally during fermentation.
What Do the Grains Do?
Water kefir grains contain a community of bacteria and yeasts that work together to ferment the sugar water.
They need:
- Sugar for food
- Water
- Minerals and other nutrients
- A suitable temperature
- Regular feeding with fresh sugar water
With proper care, the grains can be reused for many batches and may grow over time.
What Can You Do With Extra Water Kefir Grains?
With regular use, water kefir grains may multiply. Once you have more grains than you need for your usual batches, you have several options.
- Make a larger batch: Increase the amount of sugar water and use more grains to make additional water kefir.
- Share them: Give extra grains to friends or family so they can start making their own water kefir.
- Keep a backup culture: Store a small extra portion according to the grain supplier’s storage instructions in case your main culture becomes damaged or contaminated.
- Store them for a short break: Place extra grains in sugar water in the refrigerator and refresh the liquid regularly, following the supplier's recommendations.
- Compost them: If you have more grains than you can use or share, compost them.
- Feed them to your chickens: Extra water kefir grains can be offered to chickens as an occasional treat. Introduce only a small amount, and do not feed grains that are moldy, spoiled, or contaminated.
You do not need to keep every grain that grows. Keep the amount you need for your regular batches, save a backup if desired, and find a use for the extras.
Treat water kefir grains as an occasional supplemental treat for chickens, not a replacement for balanced poultry feed.
STEP 1: START YOUR WATER KEFIR GRAINS
If your grains are new, begin by preparing a starter batch according to the instructions supplied with them. Some grains arrive ready to use, while others need to be rehydrated or activated first.
New grains may take a few batches to become fully active.
Ingredients
Use the recipe below as a starting point. It follows the grain amounts used in this guide.
| Jar size | Water kefir grains | Sugar | Water |
|---|---|---|---|
| Quart jar | ¼ cup | ⅛ cup | 3 cups |
| Half-gallon jar | ½ cup | ¼ cup | 6 cups |
| Gallon jar | 1 cup | ½ cup | 12 cups |
Leave room at the top of the jar. These are approximate household measurements; grain activity and fermentation speed can vary.
What Kind of Sugar Can I Use?
Plain white cane sugar is a reliable choice for getting started.
Other options may include:
- Organic cane sugar
- Brown sugar
- Some unrefined sugars, such as rapadura
Different sugars can affect the flavor, color, and activity of the grains. Start with one type of sugar and keep it consistent while your grains become established.
Avoid using honey as your regular sugar source. It has its own antimicrobial properties and may not support the culture reliably.
Is Molasses Necessary?
No. Molasses is optional.
A small amount can provide minerals, but too much can over-mineralize the mixture and negatively affect the grains.
For the half-gallon recipe, use:
- 1 teaspoon molasses
You can begin with this amount, or omit it if your water and sugar already provide enough minerals. Do not keep adding mineral supplements if the grains are fermenting well.
What Kind of Water Should I Use?
Use clean water that is not heavily chlorinated.
Good options include:
- Spring water
- Suitable filtered water that retains minerals
- Dechlorinated water
Avoid heavily chlorinated water. Distilled or reverse-osmosis water may lack the minerals the grains need unless it is appropriately remineralized.
Tools You'll Need
- Water kefir grainsShop tool
- Wide-mouth glass jarShop tool
- Measuring cup
- Measuring spoons
- Non-metal spoon or utensil
- Fine mesh strainer
- Breathable jar cover, such as a coffee filter or fermentation clothShop tool
- Rubber band
- Clean bottle or jar for finished kefir
- Funnel (optional)
Some of the links on this page are affiliate links. If you purchase through one of these links, One More Farm may earn a small commission at no additional cost to you. Your support helps us continue sharing practical recipes, tutorials, and self-sufficiency resources. Thank you for supporting our small farm!
Avoid using aluminum or reactive metal equipment in contact with the culture. Glass and food-safe plastic are suitable options.
Starting the Grains: Step by Step
1. Prepare the sugar water
Measure the water into your clean jar.
Add the sugar and stir until it is completely dissolved.
If using molasses, add it and stir well.
2. Add the grains
Once the sugar water is at room temperature, gently add the water kefir grains.
Do not add the grains to hot water.
3. Cover the jar
Cover the jar with a breathable cover, such as a coffee filter or fermentation cloth, secured with a rubber band.
This keeps dust and insects out while allowing gas to escape.
4. Let the grains ferment
Place the jar in a warm spot, out of direct sunlight.
A comfortable room temperature around 70–75°F is a good starting point.
- Warmer temperatures generally speed up fermentation.
- Cooler temperatures generally slow it down.
For a starter batch, allow about 48–72 hours, depending on the grains and room temperature. Follow the activation instructions supplied with your grains if they specify a different schedule.
5. Check for signs of fermentation
You may notice:
- The water becoming cloudy
- Small bubbles forming
- A lightly tangy smell
- A change in taste from very sweet toward less sweet and more tangy
The grains may float or sink. Either can happen.
Do not taste or use a batch that has visible mold or smells rotten or otherwise unpleasant.
6. Strain the grains
When the starter batch is ready, strain the grains into a clean container.
For this first starter batch, follow the instructions supplied with your grains. If those instructions call for discarding the activation liquid, discard it.
The grains are now ready for your next batch of sugar water.
STEP 2: MAKE WATER KEFIR REGULARLY
Once your grains are active, you can use them to make water kefir on a regular basis.
Ingredients
Use the same jar-size recipe from Step 1:
| Jar size | Water kefir grains | Sugar | Water |
|---|---|---|---|
| Quart jar | ¼ cup | ⅛ cup | 3 cups |
| Half-gallon jar | ½ cup | ¼ cup | 6 cups |
| Gallon jar | 1 cup | ½ cup | 12 cups |
Molasses is optional. If you use it, keep the amount modest and consistent.
Daily Brewing: Step by Step
1. Prepare fresh sugar water
Add the water and sugar to a clean jar.
Stir until the sugar is dissolved. Add a small amount of molasses if using.
Let the mixture cool to room temperature if you used warm water to dissolve the sugar.
2. Add the grains
Gently add your active water kefir grains to the sugar water.
3. Cover and ferment
Cover the jar with a breathable cover.
Place it in a warm spot, out of direct sunlight, and allow it to ferment for about 24–48 hours as a starting point.
The exact time depends on:
- Room temperature
- Grain activity
- Grain-to-water ratio
- Sugar type
- Water mineral content
Warmer conditions generally ferment faster. Cooler conditions generally ferment more slowly.
4. Check the batch
Water kefir is usually ready when it has a lightly tangy flavor and is less sweet than the original sugar water.
You may see small bubbles or cloudiness.
Do not rely on time or bubbles alone to determine how much sugar remains. The sugar content varies from batch to batch.
5. Strain the grains
Using a clean fine mesh strainer, separate the grains from the finished water kefir.
Do not routinely rinse the grains between batches unless they need cleaning or the instructions supplied with your culture recommend it.
6. Start the next batch
Place the grains into a fresh batch of sugar water.
You can repeat this process as often as you want to make water kefir.
FLAVORING YOUR WATER KEFIR
You can drink water kefir plain, or flavor it with fruit juice.
Add fruit juice after you have strained out the grains. This helps protect the grains and keeps them in their regular sugar-water routine.
Simple Flavoring
- Strain the finished water kefir into a clean bottle or jar.
- Add a small amount of your favorite fruit juice.
- Stir or gently mix.
- Taste and adjust the flavor.
Try:
- Apple juice
- Grape juice
- Pineapple juice
- Cranberry juice
- Lemon or lime juice
Start with a small amount of juice and adjust to taste.
Want More Fizz?
A second fermentation can build additional carbonation.
- Add juice to the strained water kefir.
- Transfer it to a suitable bottle designed to hold pressure.
- Close the bottle and let it sit at room temperature for a short period.
- Check it frequently for pressure.
- Refrigerate once it is fizzy enough.
Important: Fermentation creates carbon dioxide. Sealed bottles can build dangerous pressure and may break or burst.
Use bottles specifically designed for carbonated beverages. Do not use thin glass bottles, ordinary jars, or containers not intended to hold pressure. Keep bottles away from children and handle them carefully. Refrigeration slows fermentation but does not stop it completely.
For a simpler and safer option, flavor the strained water kefir with juice and refrigerate it without a sealed room-temperature second fermentation.
Refrigerate Finished Water Kefir
Once your water kefir is finished and flavored, store it in the refrigerator.
Keep it refrigerated until you are ready to drink it. Refrigeration slows fermentation and helps preserve the flavor, but the drink may continue to ferment slowly.
Use clean containers and discard the drink if it develops mold or an unpleasant or rotten smell.
STEP 3: STORE YOUR WATER KEFIR GRAINS
If you need to take a break from making water kefir, you can store your grains instead of continuing to make batches.
The best storage method depends on how long you plan to take a break.
Short-Term Storage: A Few Days to About 3 Weeks
This method is useful if you are going on a trip, taking a short break, or simply do not want to make water kefir every day.
What You Need
- Water kefir grains
- Clean glass jar with lid
- Clean, non-chlorinated water
- Sugar
How to Store Them
- Prepare fresh sugar water using approximately ¼ cup sugar per quart of water.
- Place your grains in the sugar water in a clean glass jar.
- Cover with a tight-fitting lid.
- Place the jar in the refrigerator.
- If the break continues beyond a week, refresh the sugar water weekly.
The cold temperature slows the culture down, but the grains still need food.
For a short break, refrigerated storage can generally be used for up to about 3 weeks. The grains may need a few batches to become active again afterward.
Long-Term Storage: Several Months
If you plan to take a longer break, drying the grains is a practical backup option.
What You Need
- Extra water kefir grains
- Clean water suitable for the culture
- Clean parchment paper
- Clean, dry, airtight container or bag
- Refrigerator
How to Dry and Store Them
- Separate the extra grains from the finished kefir.
- Rinse them gently with suitable non-chlorinated water, if recommended by your grain supplier.
- Spread them on clean parchment paper in a clean, protected location.
- Allow them to air-dry completely. This may take several days.
- Place the fully dried grains in a sealed container or bag.
- Store them in the refrigerator.
Dried water kefir grains may remain usable for up to about 6 months when stored properly, but results vary. Follow the drying and storage instructions supplied with your particular culture.
Reactivating Stored Grains
When you are ready to make water kefir again:
- Follow the supplier's rehydration instructions.
- Prepare fresh sugar water.
- Add the grains and cover with a breathable cover.
- Allow them to ferment at room temperature.
- Repeat with fresh sugar water until they are fermenting reliably.
Stored grains may need several batches to become active again.
Do not assume they are ready after one batch. Watch for signs of fermentation and check that the aroma and taste are normal.
If the grains develop mold or a rotten, unpleasant smell, discard them.
What About Freezing?
Freezing is not included as a recommended storage method in this guide because recovery can be unpredictable. Drying and refrigerated storage are the preferred options described here.
TROUBLESHOOTING
My water kefir is still very sweet.
It may need more time, or the grains may still be adjusting. Check the temperature and allow fermentation to continue within the recommended range.